Capturing the elusive dance of the Northern Lights is a pursuit that transcends mere photography—it’s an invitation to witness nature’s most ethereal spectacle and transform it into timeless visual art. Whether you wield a sophisticated DSLR or the convenience of a smartphone, mastering the art of aurora photography demands more than just pointing and shooting. It necessitates a nuanced understanding of light, patience, and an intimate connection with the nocturnal world. Prepare to embark on a journey that not only elevates your technical prowess but also reframes your perception of the night sky.
1. Understanding the Aurora: More Than Just Light
Before delving into camera settings and gear, immerse yourself in the phenomenon itself. The Northern Lights are charged particles colliding with Earth’s atmosphere, creating waves of vivid colors and shapes that shift unpredictably. Recognizing this dynamic nature is crucial—it informs your timing, composition, and expectations. Anticipate undulating ribbons and curtains of light rather than static beams, and embrace the unpredictability as an integral part of the experience.
2. Choosing the Right Location: Escaping Light Pollution
Magnificence demands solitude. Urban luminescence often obliterates the delicate glow of the aurora, making location scouting an indispensable step. Seek remote areas with minimal artificial light to unveil the sky’s full radiance. National parks, rural expanses, or coastal vantage points high in latitude territories enhance your chances of an unblemished celestial showcase. The darker the backdrop, the more the colors of the Northern Lights will pop in your frame.
3. Timing Is Everything: Harnessing Solar Activity and Weather
Patience is a virtue, especially when the cosmos perform on their own schedule. Monitor space weather forecasts to identify peaks in solar activity, which amplify auroral displays. Cloud cover can shroud the spectacle entirely, so tracking local weather patterns is equally vital. Consider planning your shoot during the equinox months—September and March—when geomagnetic activity commonly surges, offering a richer spectacle.
4. Using Manual Mode: Commanding Exposure and Focus
Automation often falters in the face of nocturnal light dances. Manual mode offers the precision necessary to capture the subtleties of the aurora. Adjust shutter speed, aperture, and ISO sensibly to balance light sensitivity and image clarity. Typically, prolonged exposures between 5 and 25 seconds reveal the pulsating hues without overly blurring movement. Experiment with your focus manually—set it to infinity but verify sharpness through live view or test shots.
5. Optimizing Your DSLR Settings: Crafting the Perfect Shot
DSLRs provide unparalleled flexibility when photographing the Northern Lights. Start with a wide aperture to maximize light intake—f/2.8 or wider is ideal. ISO settings should be high enough to offer brightness, anywhere between 800 to 3200, yet low enough to minimize noise. Longer shutter speeds capture the radiance and motion but require a tripod for steadiness. Pair these settings with RAW format shooting to preserve data richness for post-processing finesse.
6. Smartphone Photography: Overcoming Limitations with Innovation
Modern smartphones have advanced to a point where aurora photography is viable, though challenges persist. Utilize night mode features and third-party apps that allow manual control over exposure and ISO. Stabilize your phone on a tripod or secure surface to prevent image blur. Engage long-exposure settings, often ranging up to 10 seconds, to accumulate sufficient light. Despite sensor limitations, innovative computational photography methods can enhance your shots remarkably.
7. Stabilization Is Non-Negotiable: The Role of Tripods and Remote Shutters
When exposure times extend beyond a fraction of a second, even the slightest movement causes disruptive blur. A sturdy tripod anchors your camera against unpredictable vibrations. Incorporate remote shutter releases or self-timers to minimize shake caused by pressing the shutter button. This foundational step ensures crisp, sharp imagery that encapsulates the aurora’s intricate details.
8. Composition: Integrating Foreground Elements
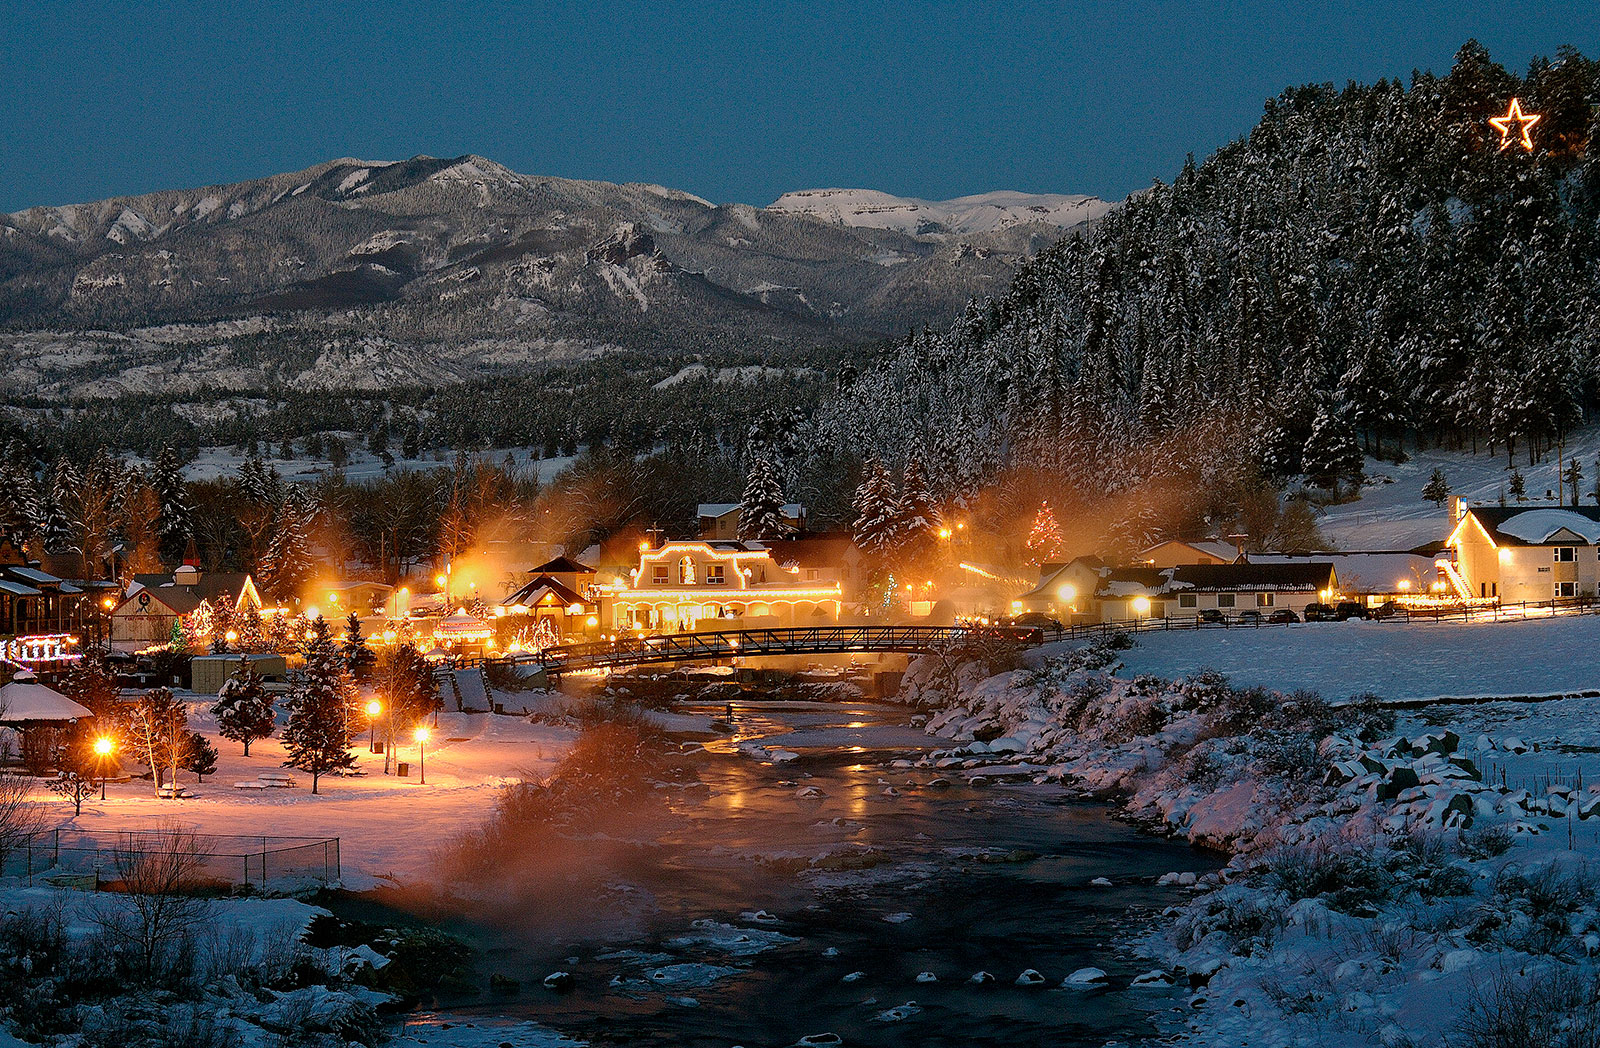
An arresting aurora photograph transcends a mere celestial portrait. Introduce terrestrial features—icy landscapes, silhouetted trees, quaint cabins, or reflective water surfaces—to anchor your image and provide dramatic context. Foregrounds infuse your photograph with scale and storytelling depth, transforming it from a mere light study into a compelling visual narrative.
9. Color Balance and White Balance: Fine-Tuning the Mood
Accurate color rendition can make or break the authenticity of your Northern Lights imagery. While the aurora often features greens, purples, pinks, and blues, these hues can be distorted by default camera white balance. Manually adjusting white balance settings, often to a cooler temperature, reveals the aurora’s true chromatic spectrum. Shooting in RAW affords greater leeway in post-processing to calibrate colors meticulously.
10. Experimenting with Exposure Times: Revealing Movement vs. Detail
The ephemeral nature of auroras invites experimental exposures. Shorter shutter speeds capture sharper, more detailed patterns, highlighting defined arcs and waves. Longer exposures portray seamless, flowing movement, often rendering abstract light paintings across the sky. Vary your shutter duration throughout the night to curate a diverse portfolio that encompasses both clarity and motion artistry.
11. Patience and Perseverance: Embracing the Unexpected
The Northern Lights are notoriously fickle—moments of splendor may arise without warning or fade swiftly. Approach your shoot with a mindset prepared for extended waiting and sudden bursts of activity. This patience rewards you with images charged not only with beauty but with the authentic unpredictability that defines the aurora borealis experience.
12. Post-Processing: Enhancing Without Compromising Authenticity
Digital darkroom work deepens the impact of your Northern Lights photographs. Utilize software to reduce noise, sharpen details, and fine-tune color vibrancy. However, avoid over-processing that diminishes the organic essence of the scene. Subtlety is paramount—preserving the raw emotion and ephemeral quality of the aurora will maintain the integrity of your visual storytelling.